
Android SDK Integration Guide
Usage tips
This article is JMLink Android SDK Standard integration guide document. for guidance SDK By default, readers are already familiar with the usage of IDE(Eclipse or Android Studio), as well as having certain Android Basic programming knowledge.
matching SDK The version is:v1.0.0 and later versions.
- If you want to test quickly, please refer to this article to run through it in a few minutes. Demo。
- JMLinkOn the documentation website, there are all relevant guides,API, tutorials and all other documents. Updated versions, including those of this document, will be posted to this website in a timely manner.
- at present SDK Only supports Android 2.3 or above version of mobile phone system.
mavenCentral Automatic integration
- confirm android studio of Project root directory master gradle configured in mavenCentral support. (New project Supported by default configuration)
          buildscript {
 repositories {
 mavenCentral()
 }......
}

allprojects {
 repositories {
 mavenCentral()
 }
}
- exist module of gradle Add dependencies and AndroidManifest substitution variable
          android {......
 defaultConfig {
 applicationId "com.xxx.xxx" //极光开发平台上注册的包名......

 ndk {
 //选择要添加的对应cpu类型的.so库。
 abiFilters 'armeabi', 'armeabi-v7a', 'armeabi-v8a'
 // 还可以添加 'x86', 'x86_64', 'mips', 'mips64'
 }

 manifestPlaceholders = [
 JPUSH_PKGNAME: applicationId,
 JPUSH_APPKEY: "你的appkey", //极光开发平台上注册的包名对应的appkey.
 JPUSH_CHANNEL: "developer-default", //暂时填写默认值即可.
 ]......
 }......
}

dependencies {......

 implementation 'cn.jiguang.sdk:jmlink:1.3.1' // 此处以JMlink 1.3.1 版本为例。
 implementation 'cn.jiguang.sdk:jcore:4.8.0' // 此处以 jcore 4.8.0 版本为例。......
}
Note: If adding the above abiFilter After configuration android Studio The following prompt appears:
NDK integration is deprecated in the current plugin. Consider trying the new experimental plugin.
then in Project root directory gradle.properties Add to the file:
android.useDeprecatedNdk=true
Assembly service integration steps
The assembly service is a replacement for manual integration SDK encapsulation service, by converting SDK combined into separate jiguang module, hiding the common configuration business of manual integration, developers only need to focus on their own personalized configuration, reducing integration steps and improving developer access efficiency.
If you need to use JMLink Assembly service, please check the box on the assembly service interface JMLink service andAssemble SDK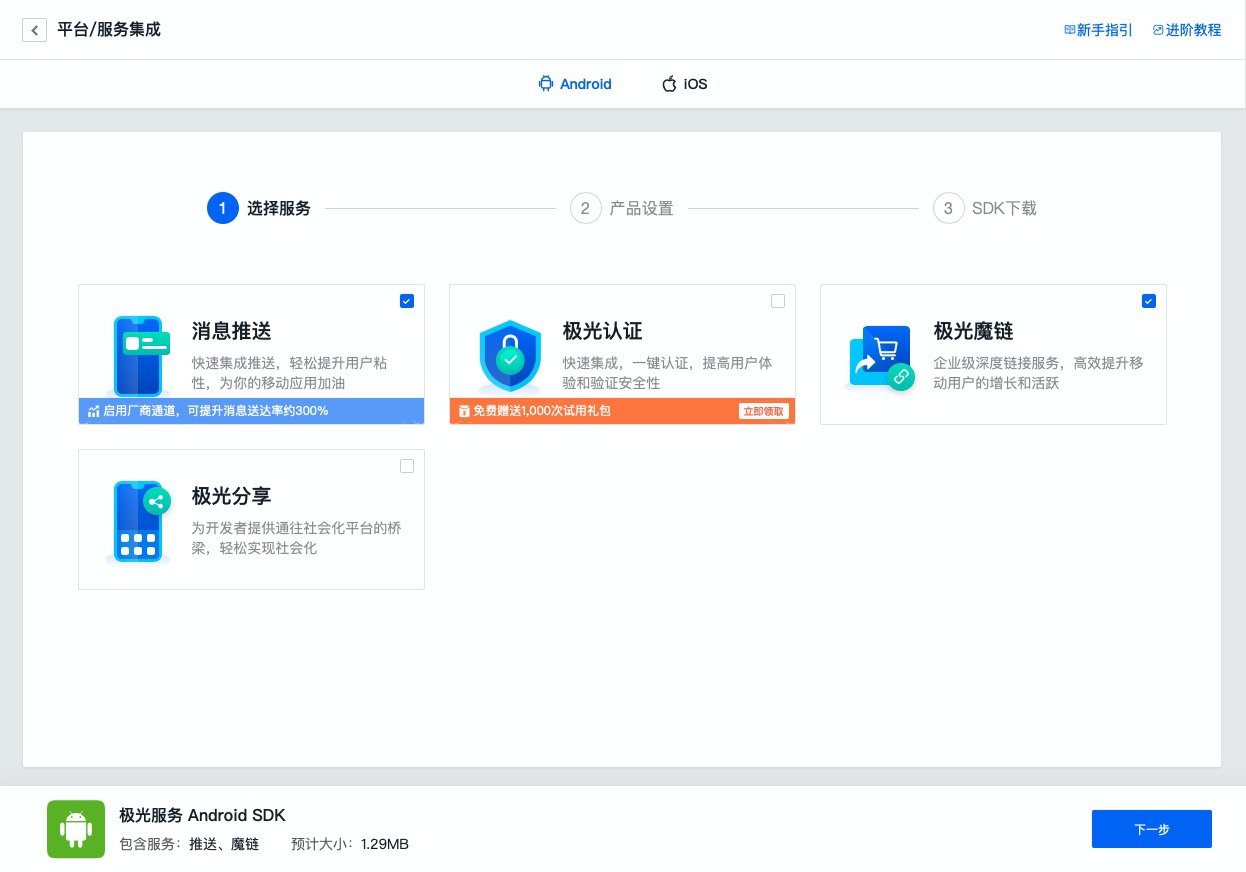
jiguang_sdk.zip Integrated compressed package contents
- jiguang
- JIGUANG SDK Combo pack
- JMLink jar Packages, resource files, etc. are already dependent on the package, so there is no need to manually copy the dependencies.
- jiguang-demo
- JIGUANG SDK Combo package integration demo。
- is a complete Android This project demonstrates the basic usage of package services and can be used as a reference.
- It will be automatically combined and built based on the services you selected, and the related configurations preset before package assembly will be pre-buried in demo middle
import JIGUANG SDK
Pass AS will SDK as module Import project
Import steps:AndroidStudio -> File -> New -> Import Module -> Select jiguang import
Configuration JIGUANG SDK
settings.gradle Configuration added:
include ':jiguang'
in application module gradle Medium Add SDK rely
          android {......
 defaultConfig {
 applicationId "com.xxx.xxx" //极光开发平台上注册的包名。......

 manifestPlaceholders = [
 JPUSH_PKGNAME: applicationId,
 JPUSH_APPKEY: "你的 Appkey ", //极光开发平台上注册的包名对应的 Appkey.
 JPUSH_CHANNEL: "developer-default", //暂时填写默认值即可.
 ]......
 }......
}

dependencies {......

 implementation project(':jiguang')......
}
Manual integration steps
Manually integrated compressed package download link:Go to download
JMLink Introduction to compressed packages
- example/
- one for display JMlink basic usage demo application
- libs/jcore-android.2.X.Y.jar
- Jiguang Core package of developer services
- libs/JMlink-Android-SDK-v1.X.Y.jar
- JMLink SDK development kit
- libs/(cpu-type)/libjcore2xy.so
- Various CPU type native development kit
Unzip SDK and import
- exist Jiguang Download the latest from the official website SDK
- Unzip JMLink-Android-SDK-v1.X.Y.zip Integrated compressed package
- copy libs/jcore-android_2.X.Y.jar to project libs/ directory.
- copy libs/JMlink-Android-SDK-v1.X.Y.jar to project libs/ directory.
- copy libs/(cpu-type)/libjcore1xy.so Store the correspondence in your project cpu type directory.
***Instructions 1: ***Use android studio developers, if using jniLibs folder into the so file, you only need to add all cpu Copy the folder of type into it; if you add the so file in module of libs folder, pay attention to the module of gradle Add the following configuration to the configuration:
           android {......
 sourceSets {
 main {
 jniLibs.srcDirs = ['libs']......
 }......
 }......
 }
Configuration AndroidManifest.xml
- Add permissions
           <uses-permission android:name="android.permission.INTERNET" />
 <uses-permission android:name="android.permission.READ_PHONE_STATE" />
 <uses-permission android:name="android.permission.WRITE_EXTERNAL_STORAGE"/>
 <uses-permission android:name="android.permission.ACCESS_NETWORK_STATE"/>
 <uses-permission android:name="android.permission.ACCESS_WIFI_STATE" />
 <uses-permission android:name="android.permission.CHANGE_NETWORK_STATE" />
 <uses-permission android:name="android.permission.WAKE_LOCK" />
- Add toJMLink Appkey information
           <meta-data
 android:name="JPUSH_APPKEY"
 android:value="您自己的appkey" /> <!-- </>值来自开发者平台取得的AppKey -->
 <meta-data
 android:name="JPUSH_CHANNEL"
 android:value="default_developer" />
run Demo
Comes with compressed package example is a API Demonstration example. You can import it into your project and add your AppKey Fill in demo of build.gradle in, setting up applicationId Then run it directly to test.
JMLink Confuse
- Please add the following configuration to the obfuscation file of the project:
          -dontwarn cn.magicwindow.**
-keep class cn.magicwindow.** {*;}

-dontwarn cn.jiguang.**
-keep class cn.jiguang.** { *; }
More API
other API Please refer to the interface documentation for usage:Android SDK API
Technical support
Email contact:support@jiguang.cn

