
Email Integration Guide
UMS integrates email channels using the common SMTP protocol. Mainstream email service providers such as QQ Mail, NetEase Mail, and SendCloud all support this protocol. The configuration method is similar to login configuration for an email client.
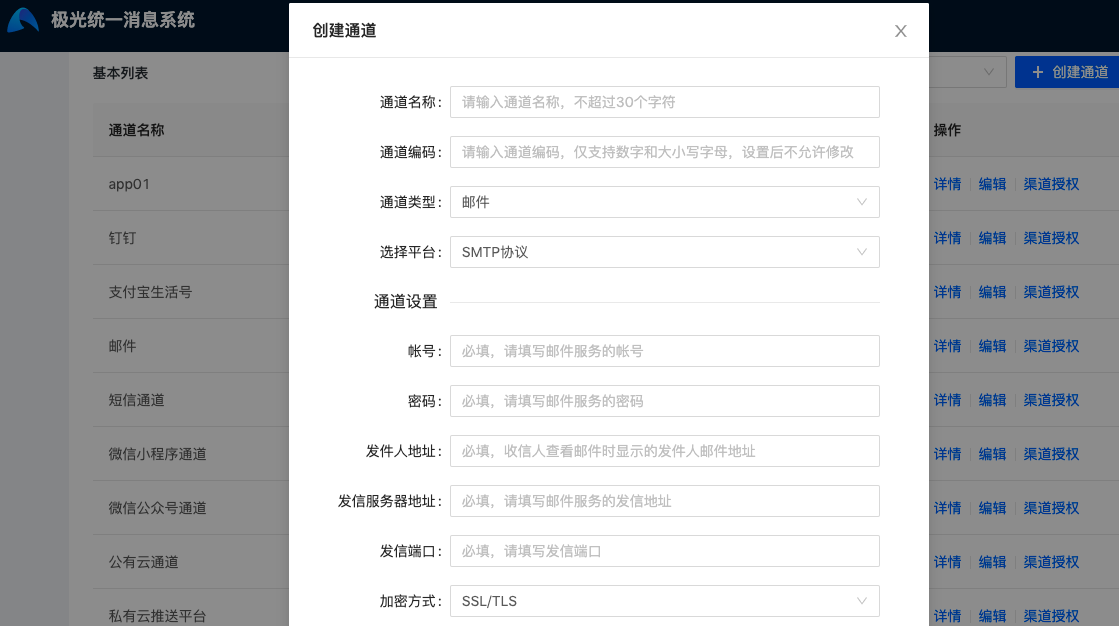
Configure Authentication Information
When adding channel messages in UMS, you need to fill in 6 items:
- Account
- Password
- Sender address
- Sending server address
- Sending port
- If the sending port is not one of 80, 443, 25, or 465, contact business support to explain the port.
- Encryption method
- For personal or enterprise email service providers, QQ Mail is used as an example. For details, see the official documentation.
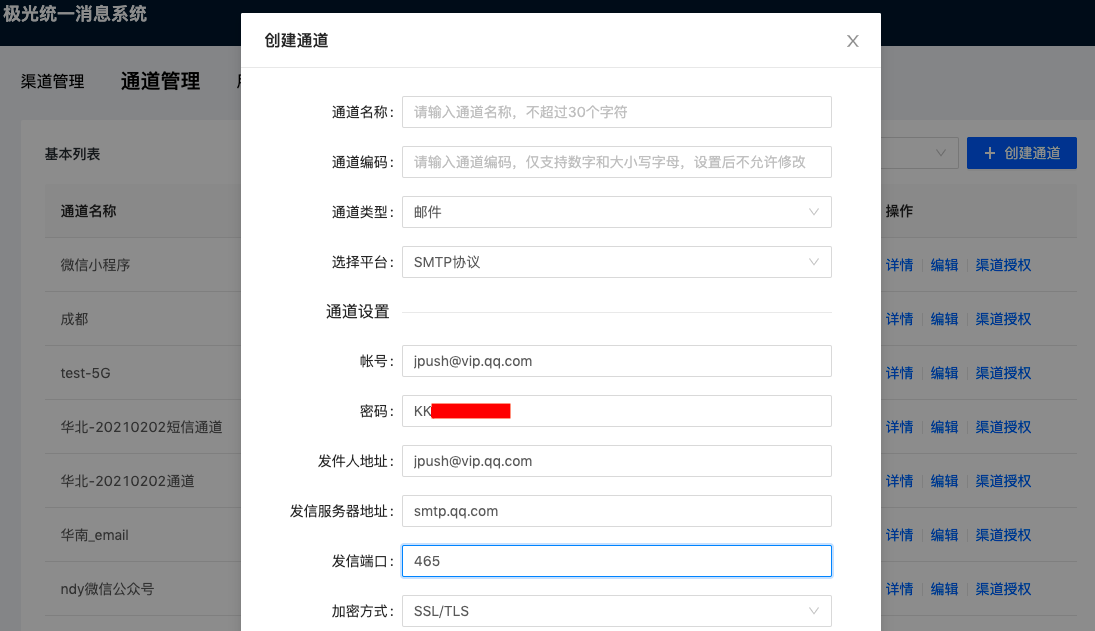
Note that QQ Mail login password must use an authorization code. Log in to the web version of QQ Mail, and generate an authorization code in Settings - Account - POP3/IMAP/SMTP/Exchange/CardDAV/CalDAV Service.
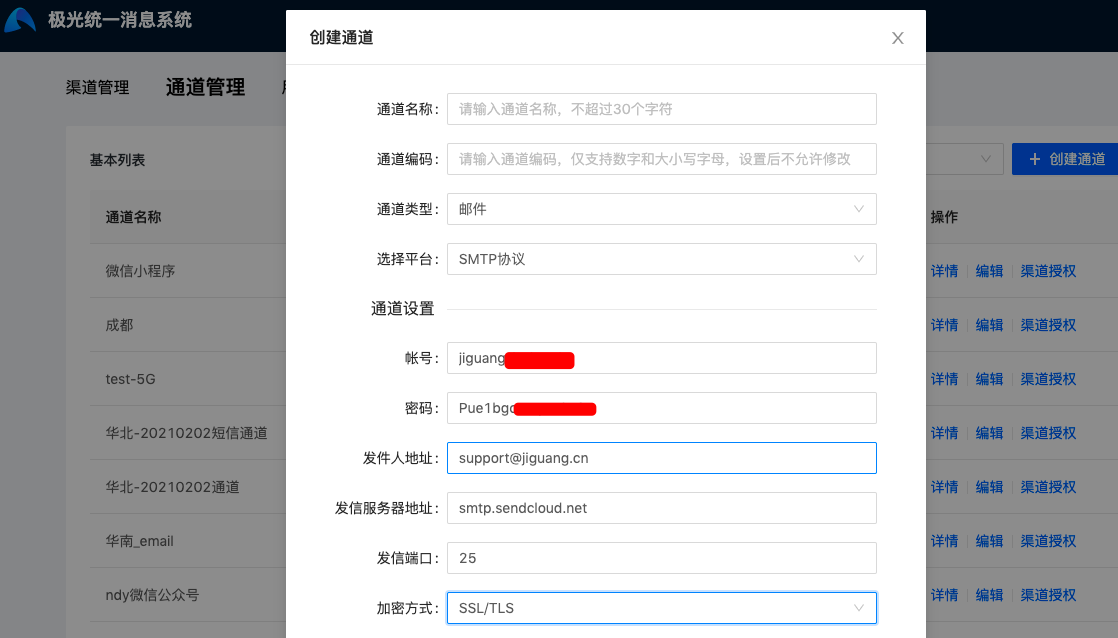
- For marketing email service providers, SendCloud is used as an example. For details, see the official documentation.
Upload Email
Enterprises can obtain user email addresses through other methods and upload the addresses to UMS.
When uploading email addresses, channel-specific upload is supported. The binding identifier bind_id is the ChannelKey of the channel. That is, after different business lines create different channels, if the same user has different email addresses, an email address can be bound to each channel. When that channel sends email to the user, the email address bound to the channel is used.
Suppose the channelKey obtained when creating a channel in UMS is 1234. The example for uploading information to the UMS platform is as follows:
- Click file upload in the UMS console. The email field is named email in UMS. Excel content example:

- JSON example for uploading through REST API is as follows. For details, see REST API - User Management.
          [{
 "userid": "zhangsan",
 "email": {
 "1234": "zs@jiguang.cn"
 }
}]
Send Messages
After configuration succeeds, you can start sending messages through the official console. Read the Console Operation Guide.
You can also call APIs to send messages. Read the REST API Documentation.

