WeCom Integration Guide
UMS currently supports the send application messages feature in WeCom. Supported message types include text messages, image messages, file messages, external-link rich media, rich media messages, and mini program notification messages.
Note: Enterprise mass messaging is planned for a future release.
Apply for a WeCom Application
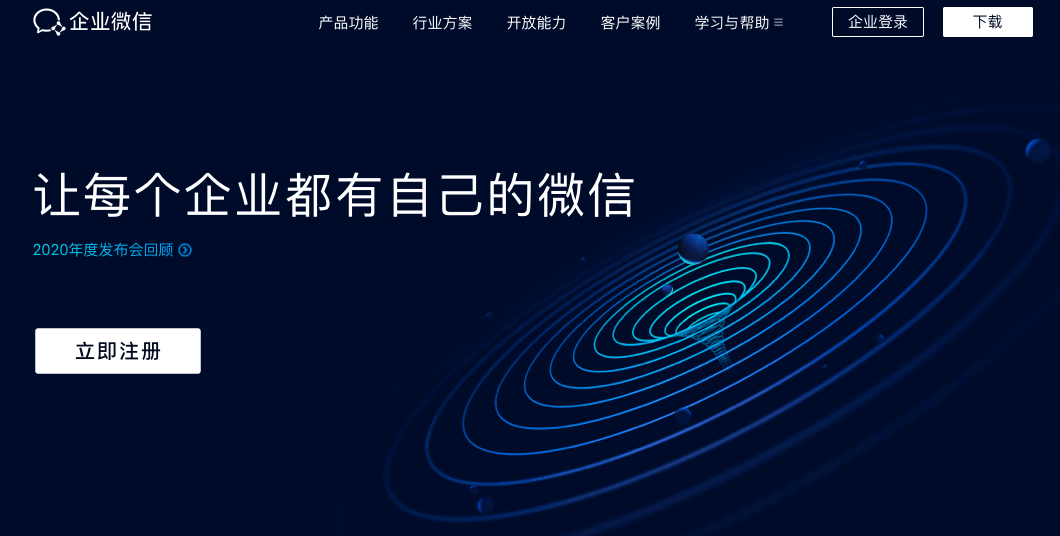
On the WeCom official website, click Register, then fill in enterprise information and administrator information to complete registration. If you already have WeCom, click Log In directly.
After logging in to the WeCom management backend, click App Management, then select Create App under Self-Built Apps.
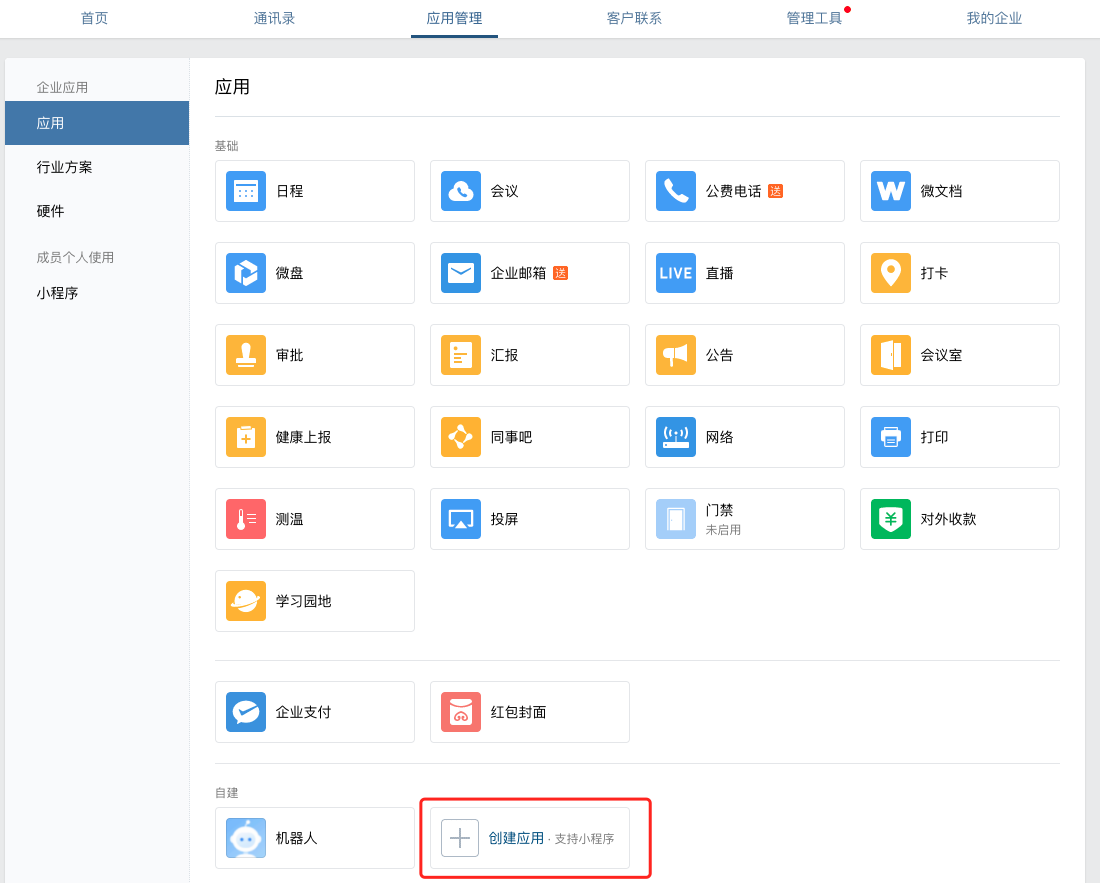
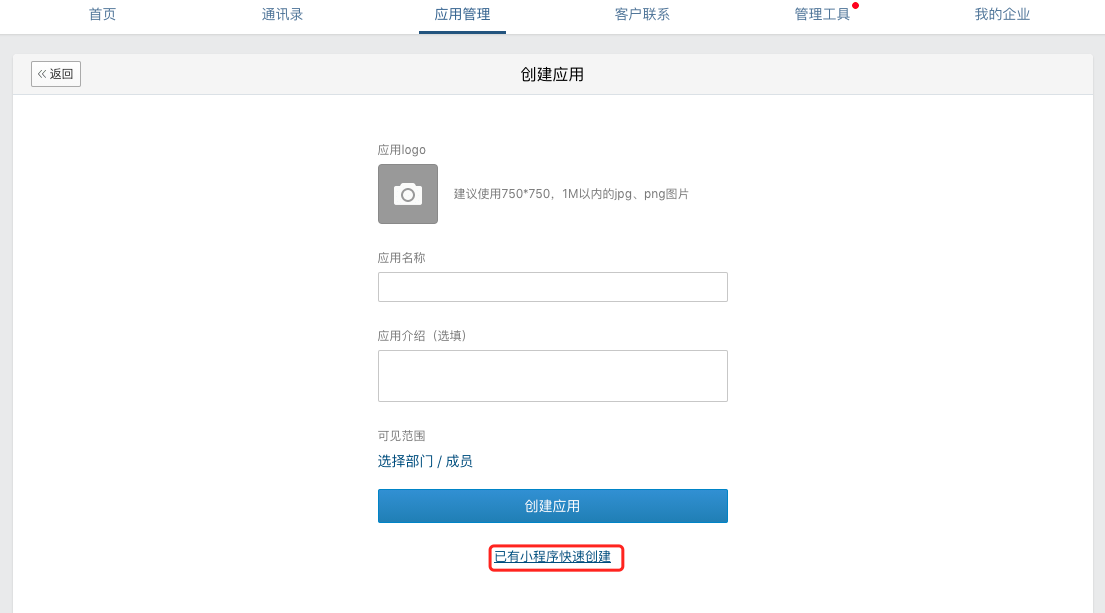
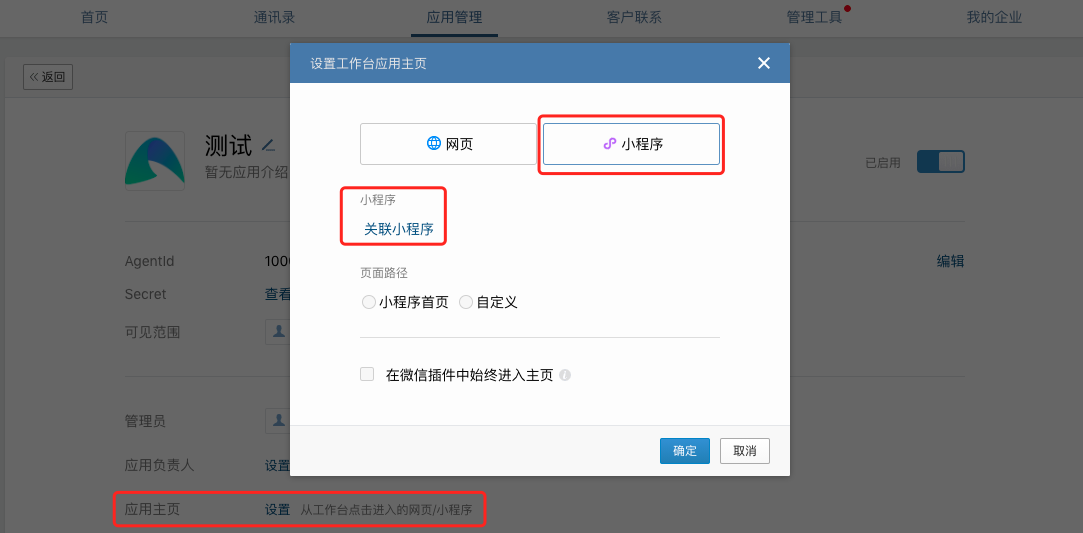
Configure App Logo, App Name, App Introduction, and Visible Scope to create the app successfully. If the enterprise already has a mini program, you can directly click Quickly Create from Existing Mini Program and use the mini program administrator's WeChat account to scan the QR code for authorization. You can also set Associated Mini Program on the App Home page after the app is created. To use the Mini Program Notification Message type, a mini program must be associated.
Basic Configuration and Authentication
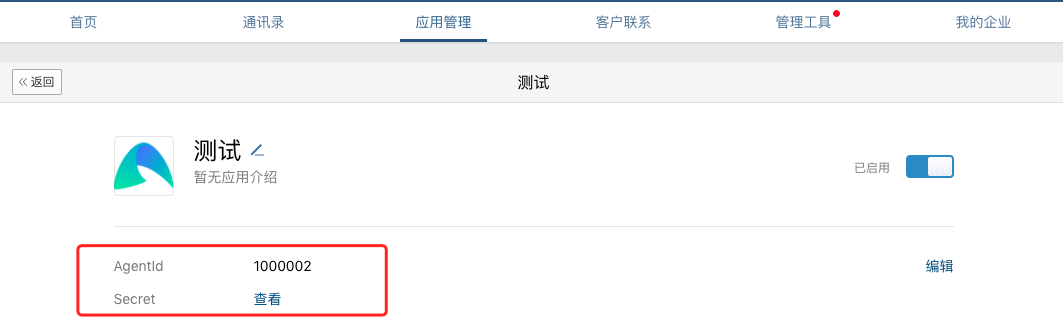
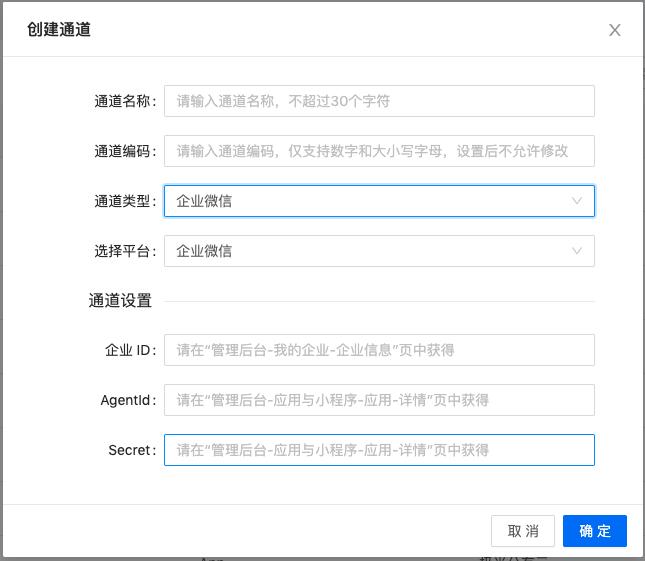
On Management Backend -> App Management -> click a specific app -> Details, you can obtain AgentId and Secret.
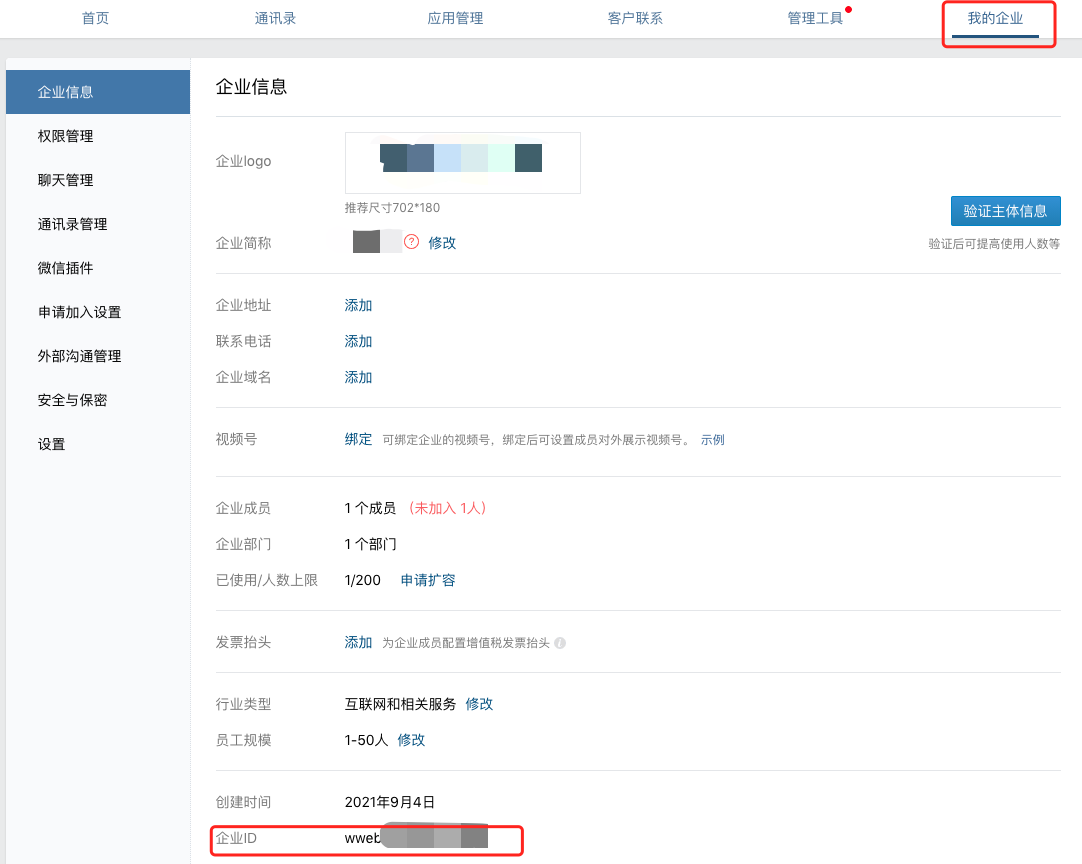
In Management Backend -> My Enterprise, you can obtain the enterprise ID.
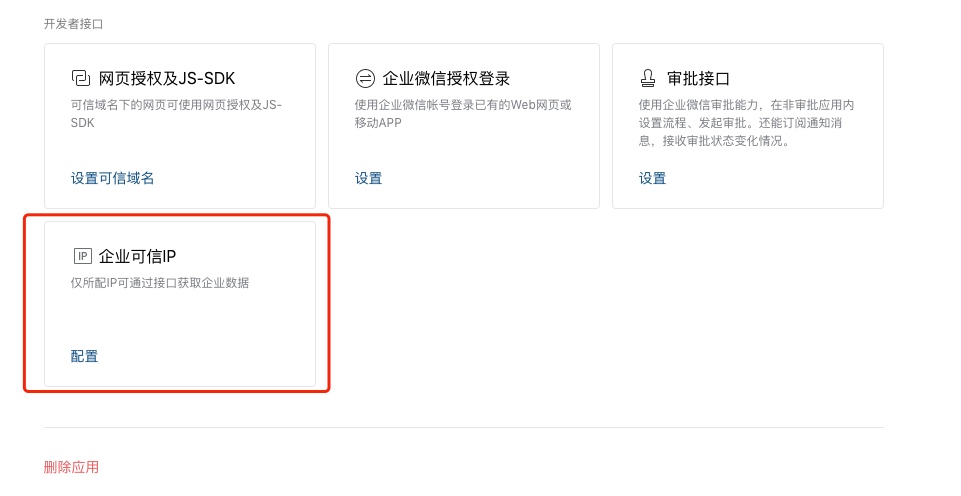
Configure trusted IP: On Management Backend -> App Management -> click a specific app -> Details, scroll to the bottom and configure the UMS system IP address (119.3.213.183) in the app's trusted IPs.
- After 20:00 on June 20, 2022, newly enabled address book sync assistants and newly created self-built apps must configure trusted IPs in the management backend. Only configured trusted IPs can call APIs. Apps created before that time do not have this option and do not need to configure it. For details, see the official description.
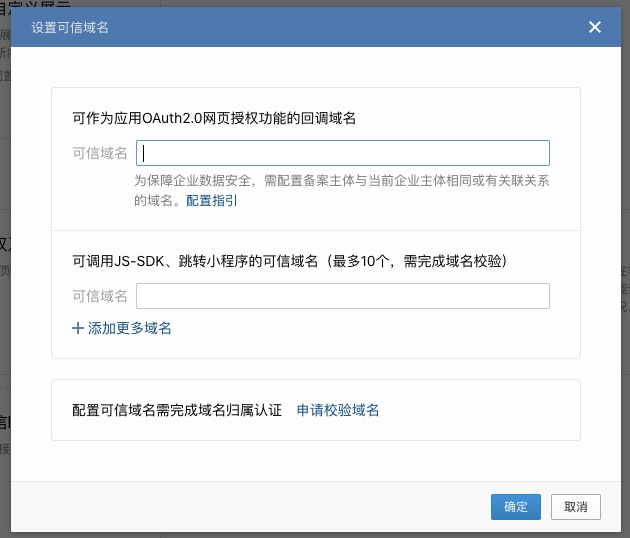
After clicking Configure, if the IP address cannot be set directly, the page will prompt that a trusted domain name must be configured. UMS has no requirement for the information in this step. Configure it according to the official WeCom requirements.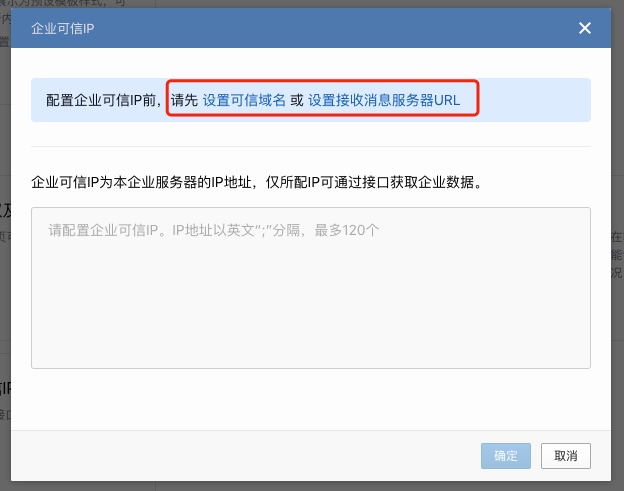
In Management Backend -> My Enterprise, you can obtain the enterprise ID.

Configure the above information in the UMS WeCom channel information to send messages to WeCom through UMS.
Upload userID
In general, if an enterprise has integrated WeCom, it calls the official API to batch import employees into WeCom. The configured userID is the target ID required when sending messages.
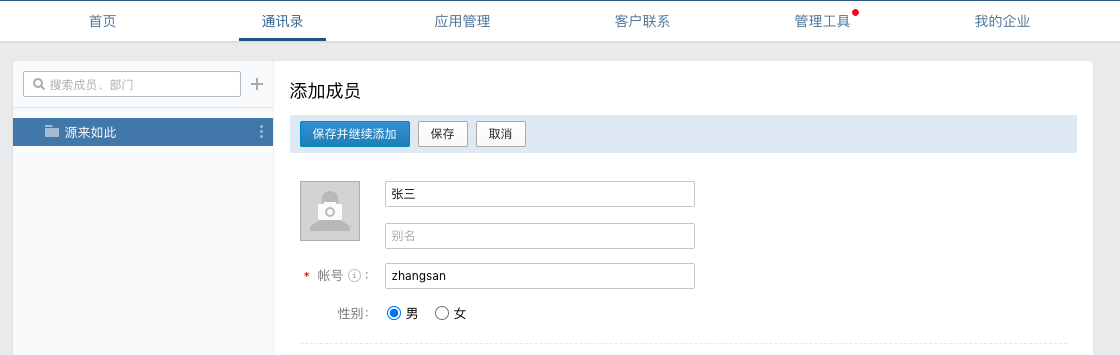
For an initial test, you can manually add a member in the management backend. The Account field is the userID.
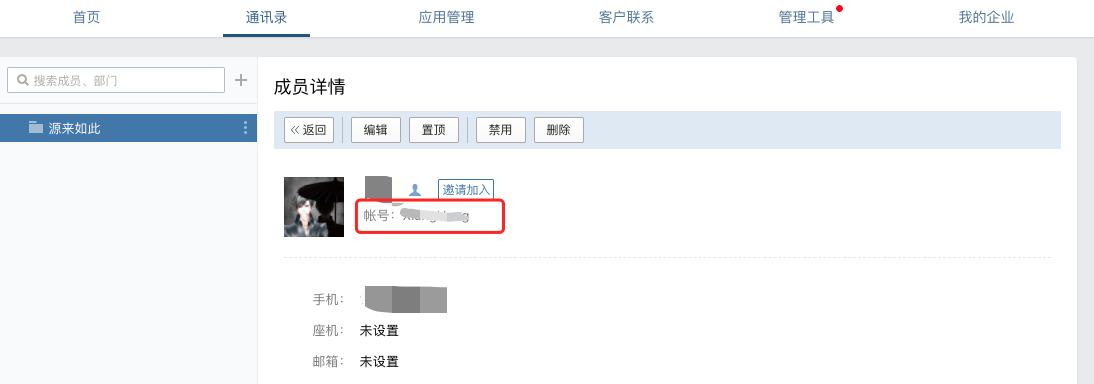
If a member already exists in the address book, click the member and view the account in the details.
Upload the WeCom userid obtained through the above methods to the UMS user system. The WeCom userID is shared across multiple apps within the same enterprise, so the binding identifier in UMS is
all. Example:
- Click file upload in the UMS console. The WeCom userID field name in UMS is
wechatwk_userid. The Excel content is as follows:
- The following is a JSON example for uploading through the REST API. For details, see REST API - User Management.
          [{
 "userid": "zhangsan",
 "set":{
 "wechatwk":"zhangsan"
 }
}]
Send Messages
After the configuration is complete, you can send messages from the official console. See the Console Operation Guide.
You can also call the API to send messages. See the REST API documentation.
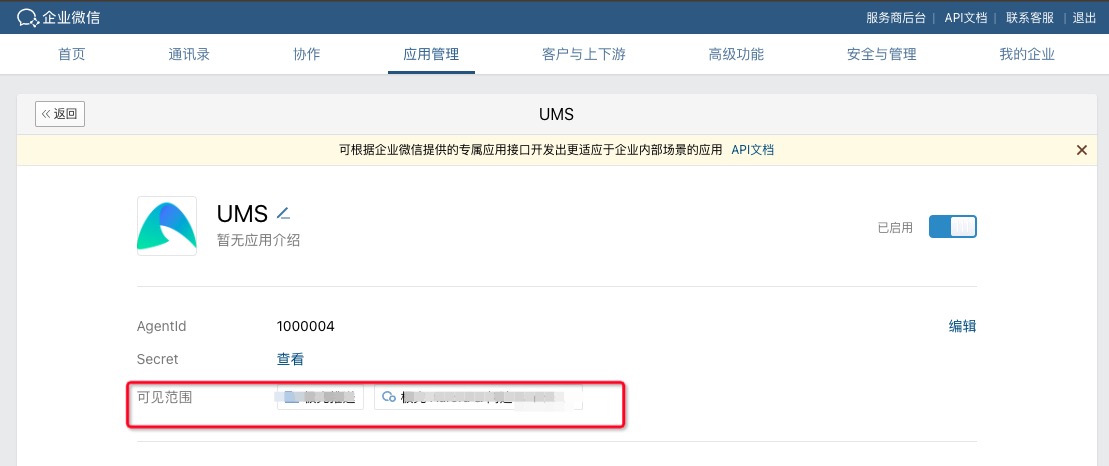
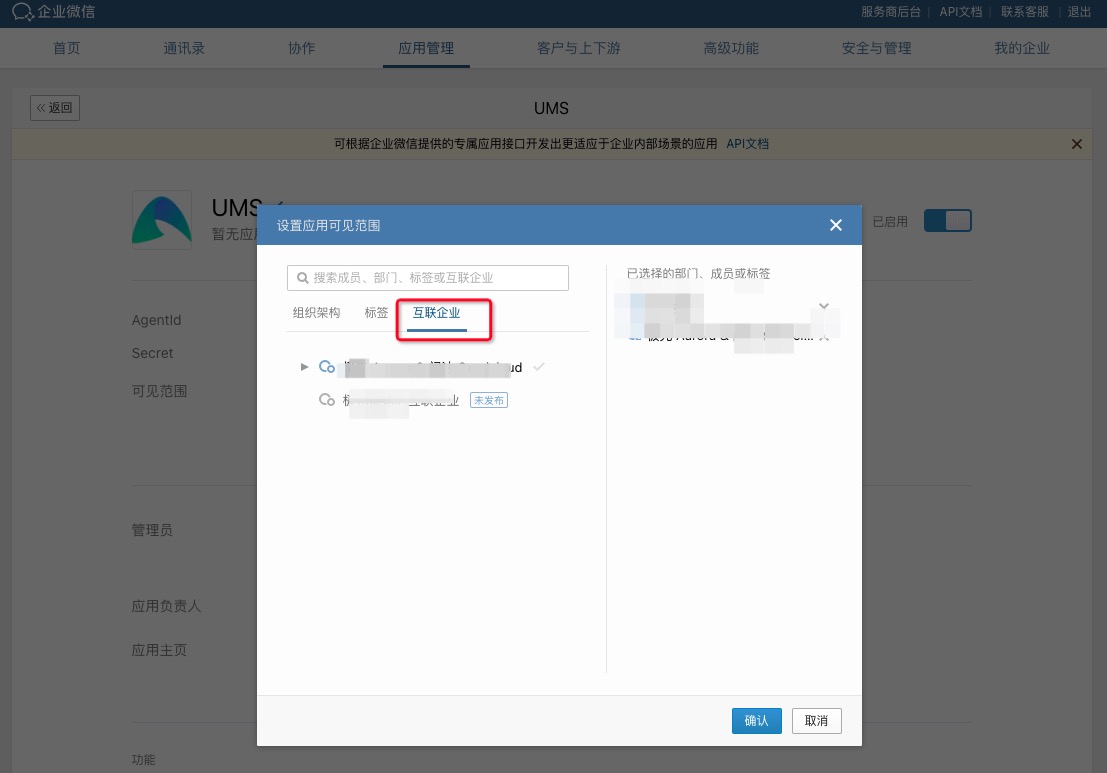
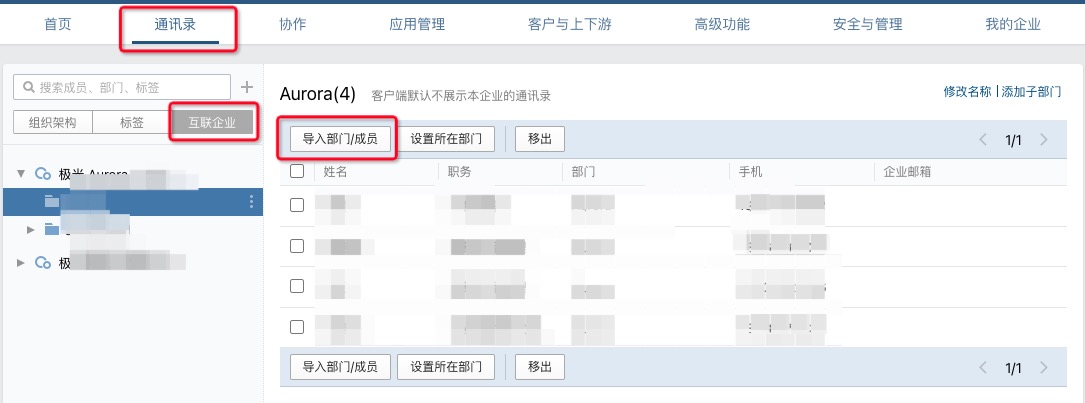
Send Messages to Connected Enterprises
The created WeCom app can also send messages to users in connected enterprises. You need to configure the visible scope for the app and add users to the address book of the connected enterprise.