
Integrate the Operation Growth Android SDK from Scratch
1. Prepare the Environment
Before integration, developers are expected to have basic Android development capabilities. At a minimum, you should be able to install the basic Android development environment and create and run an empty project in Android Studio.
2. Create a New Project
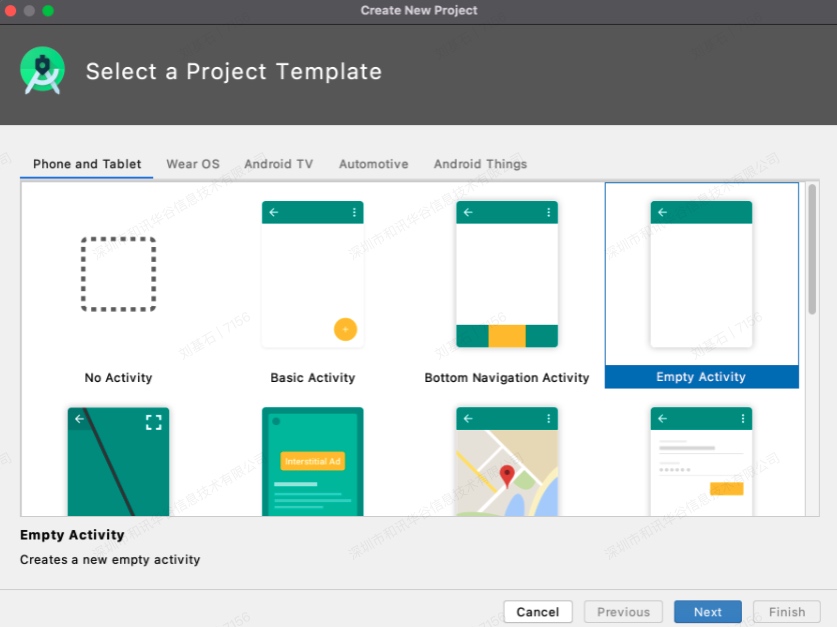
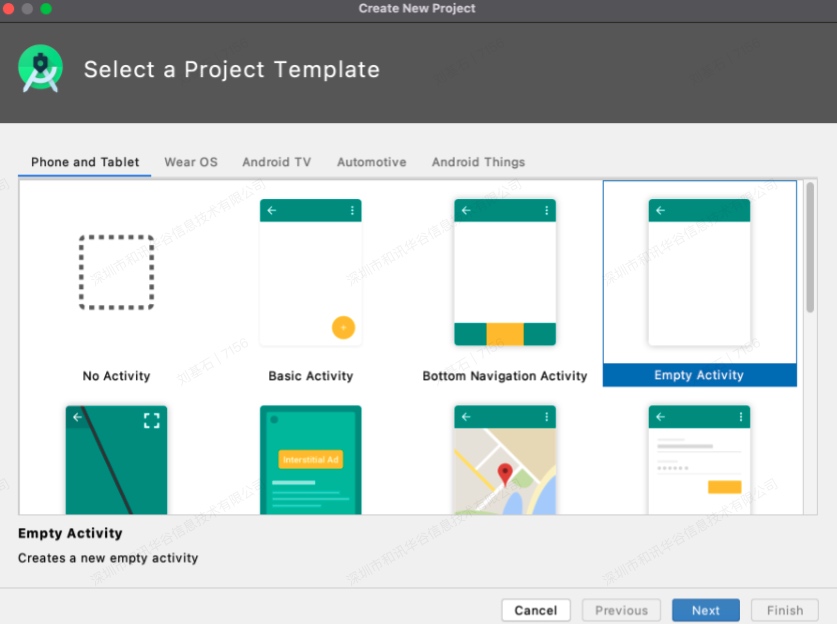
Open Android Studio -> File -> New -> New Project -> Next -> Next -> Finish.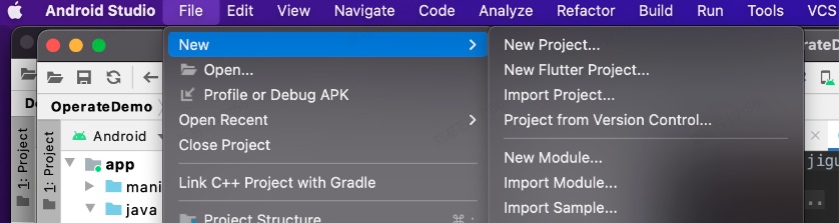
3. Integrate the SDK with Automatic Integration
After the project is created, start integrating the SDK. Open the build.gradle file under the app folder and add the Operation Growth SDK dependency in dependencies.
          dependencies {......
implementation 'cn.jiguang.sdk:jcore:4.1.0' // JCore
implementation 'cn.jiguang.sdk:joperate:2.0.2' //JOperate......
}
Change applicationId to the applicationId you created in the backend, add manifestPlaceholders, and fill in the AppKey and related configuration.
          defaultConfig {
 applicationId "com.peixun" // appid created in the backend
 minSdkVersion 21
 targetSdkVersion 31
 versionCode 1
 versionName "1.0"

 testInstrumentationRunner "androidx.test.runner.AndroidJUnitRunner"
 // AppKey and related configuration
 manifestPlaceholders = [
 // Set variables in manifest.xml
 JPUSH_PKGNAME: applicationId,
 JPUSH_APPKEY: "dcb8fb91917e711f8ca5a4a6", // AppKey corresponding to the package name registered on Portal.
 JPUSH_CHANNEL: "developer-default", // You can temporarily use the default value.
 ]
}
As shown below
Before configuration: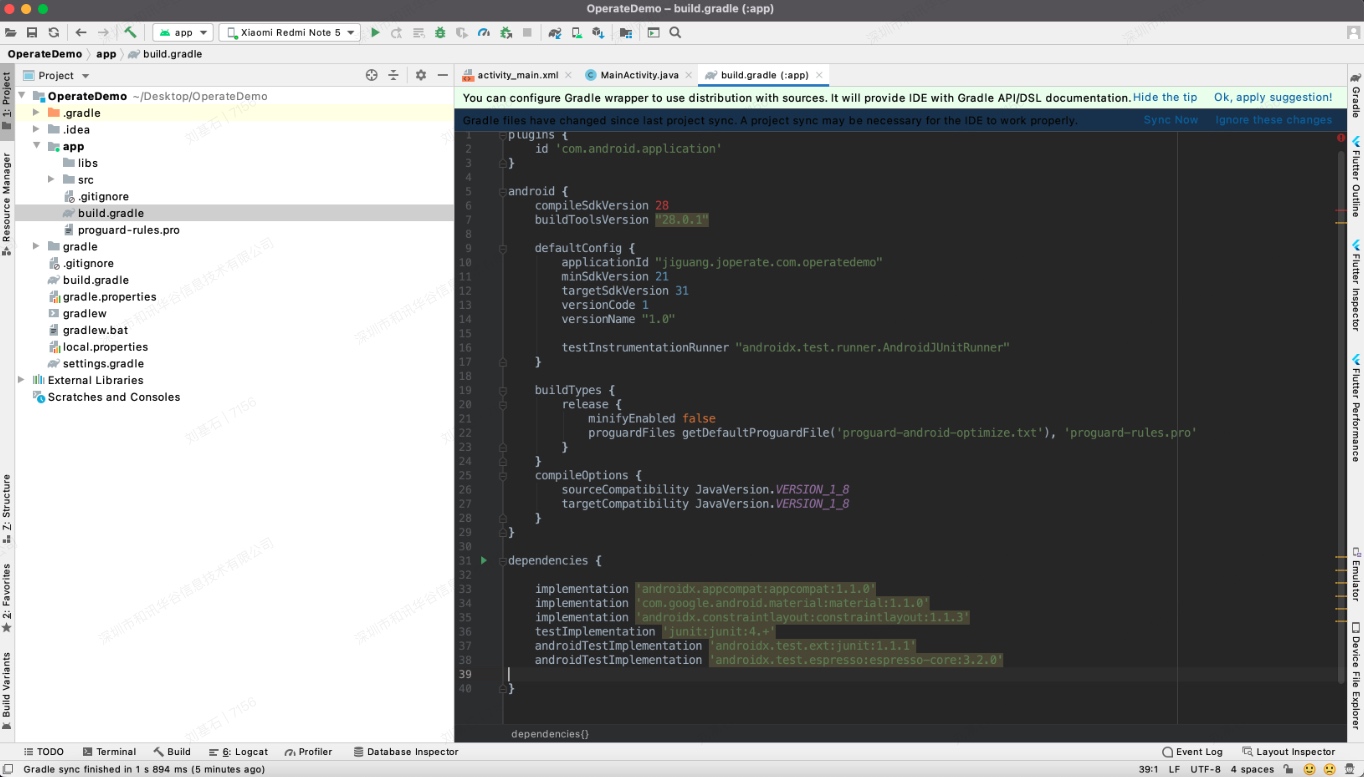
After configuration: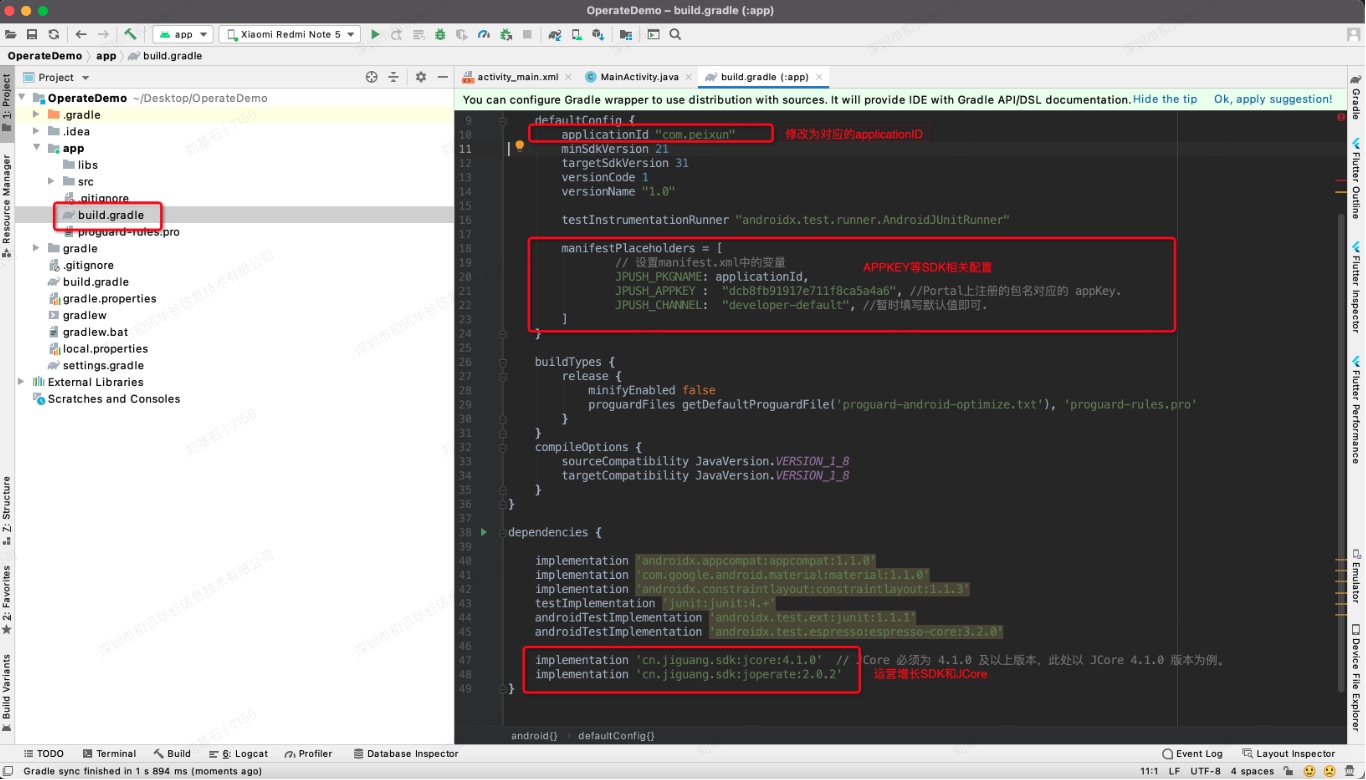
4. Add the SDK in Code
Open the app/src/main/AndroidManifest.xml file and add the service configuration (optional):
          <service android:name="cn.jpush.android.service.JCommonService"
 android:process=":pushcore"
 android:enabled="true"
 android:exported="true">
 <intent-filter>
 <action android:name="cn.jiguang.user.service.action" />
 </intent-filter>
</service>
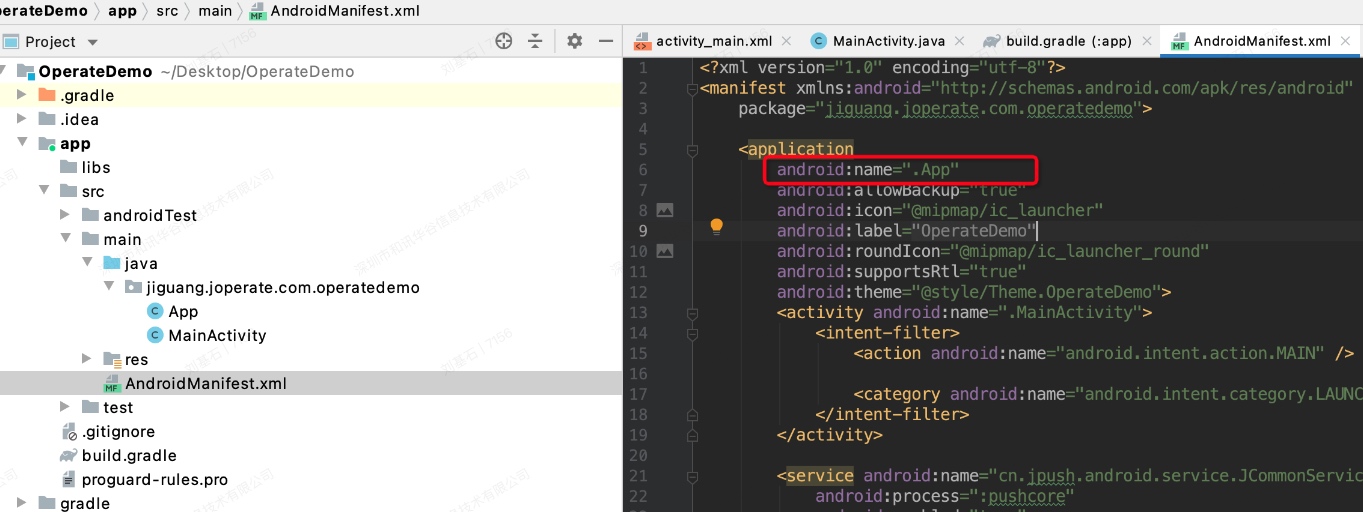
Create the Application entry point. This is optional after JCore 4.2.0, but it must be created for the current demo version. Create an Application file in the package and configure it in AndroidManifest, as shown below: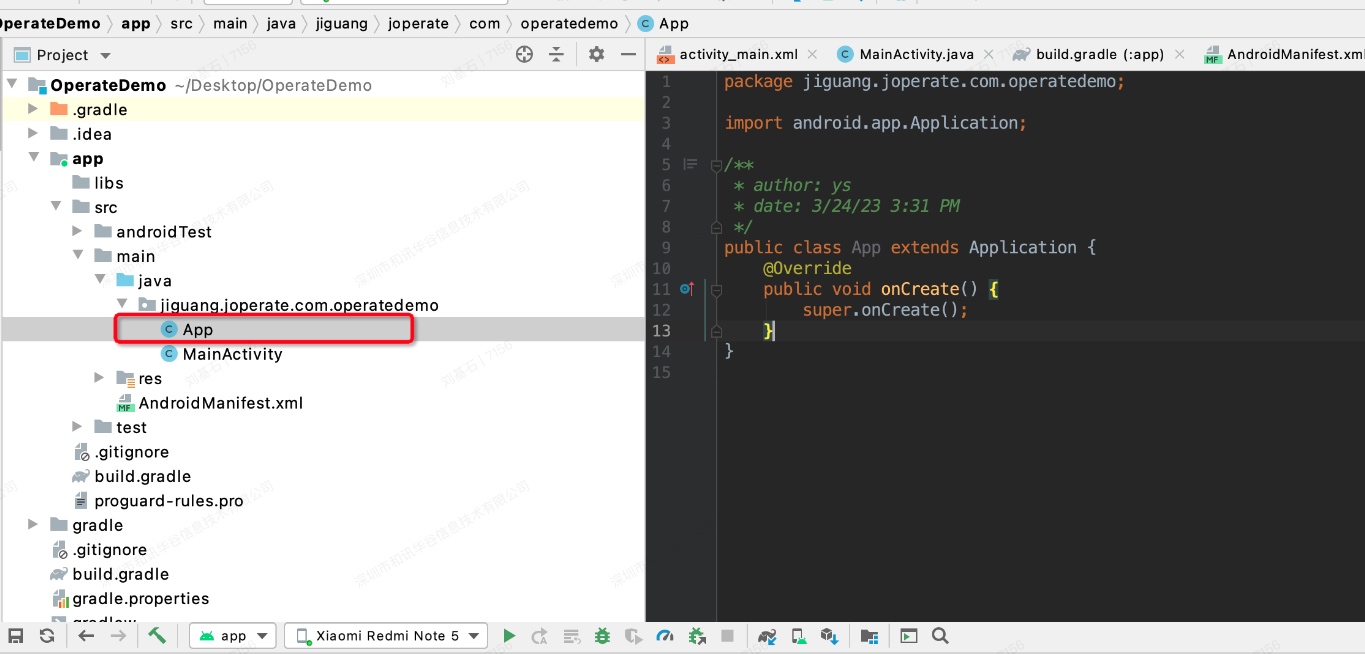
Add the Jiguang Operation Growth SDK initialization code in the app: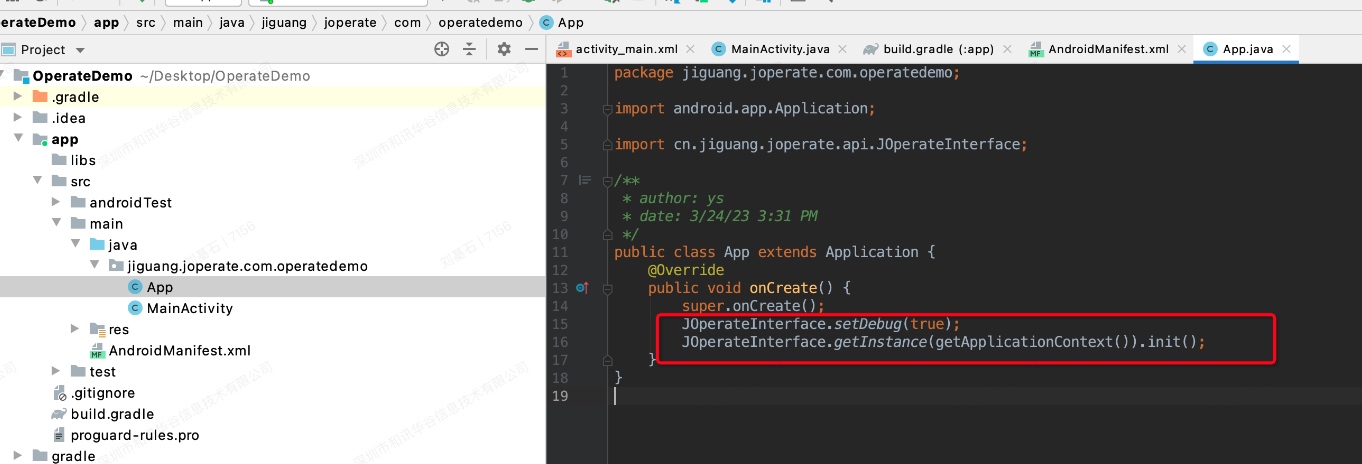
Run the application. You have successfully integrated the Jiguang Operation Growth SDK. You can see the regID in the logs, which indicates successful registration. The Operation Growth CUID log can be seen only after JCore 4.2.0.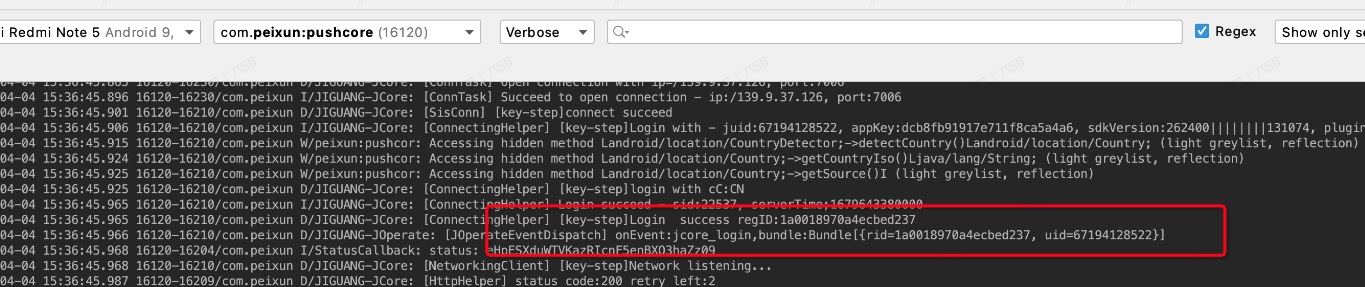
5. Add a Tracking Event
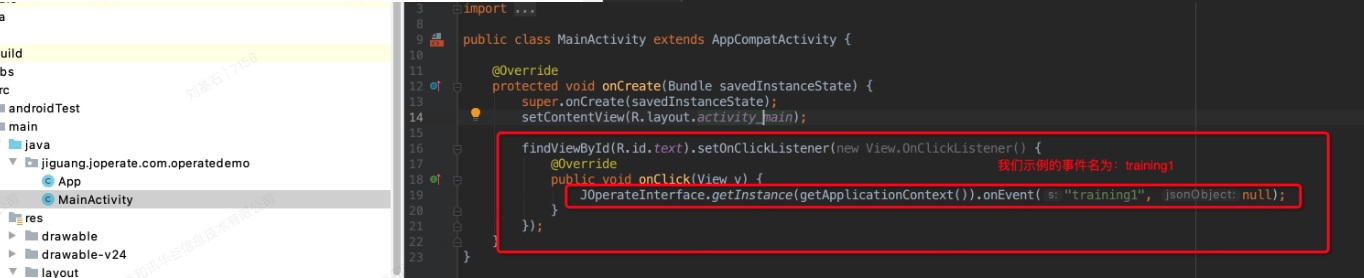
Add a button in MainActivity and configure it to trigger event reporting when clicked:
JOperateInterface.getInstance(getApplicationContext()).onEvent("training1", null);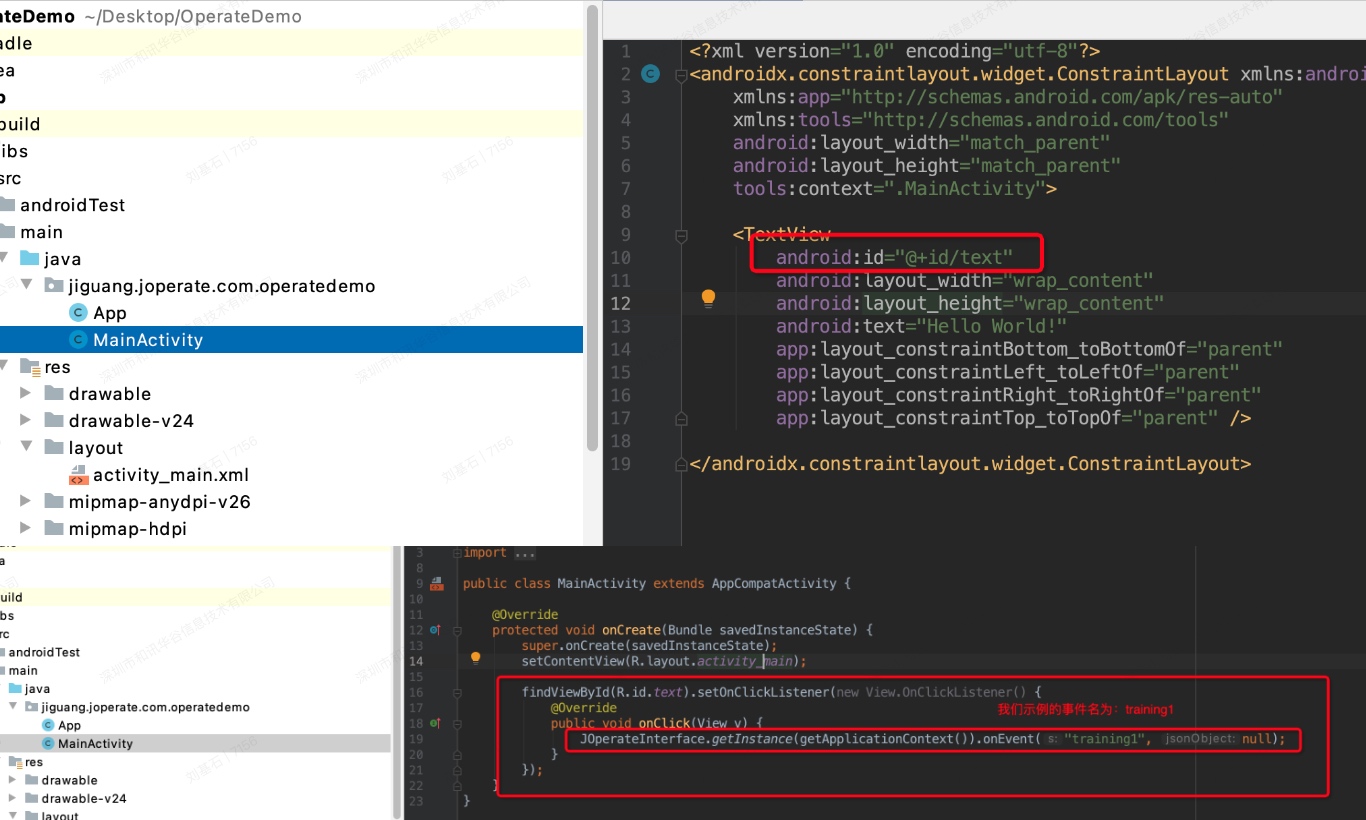
Start the SDK and click the button. When you see the following log, the event has been reported successfully: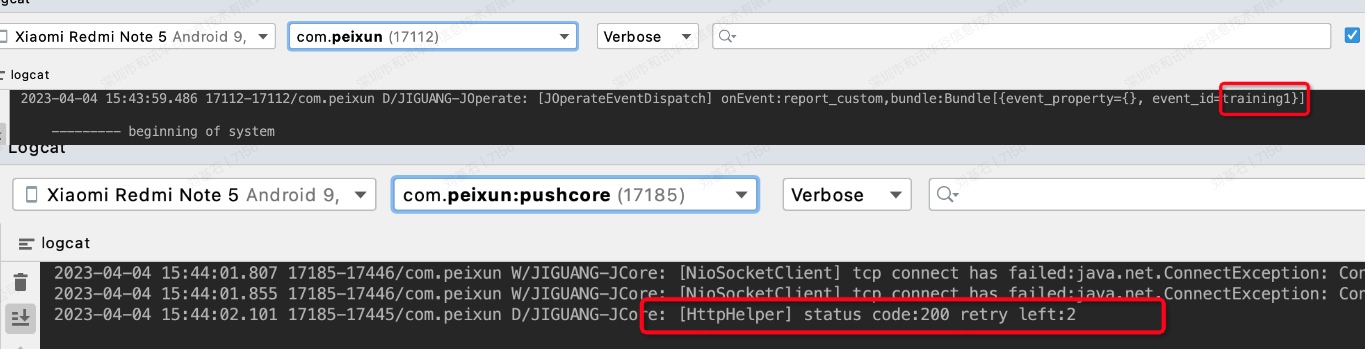
At this point, you have completed tracking event reporting for the Jiguang Operation Growth SDK. You can use the Data Center -> Data Verification feature. The client scans a QR code to open the configured URL scheme and enter data verification mode. You can then view the data reporting status of the device user's CUID in the console. For other descriptions, see Data Verification Definition.

